

Summary:
Play together for strength in numbers, clearing waves and eliminating bosses efficiently.
Begin on normal difficulty—it’s tougher than anticipated. Skills and mods are essential.
Focus on one class for quicker leveling, and target weak spots for maximum damage.
Killing Floor returns better than ever, prompting franchise veterans to dive back into the zombie-slaying action. With the release of a new title comes a fresh wave of players who might have missed earlier entries, making the leap into the series challenging without proper guidance.
Although Killing Floor 3 offers a useful tutorial along with scattered in-game tips, there are several additional strategies newcomers should know to help them survive waves of Zeds and defeat bosses without excessive difficulty.
10. The Sharpshooter is the best Perk (Class) for beginners.
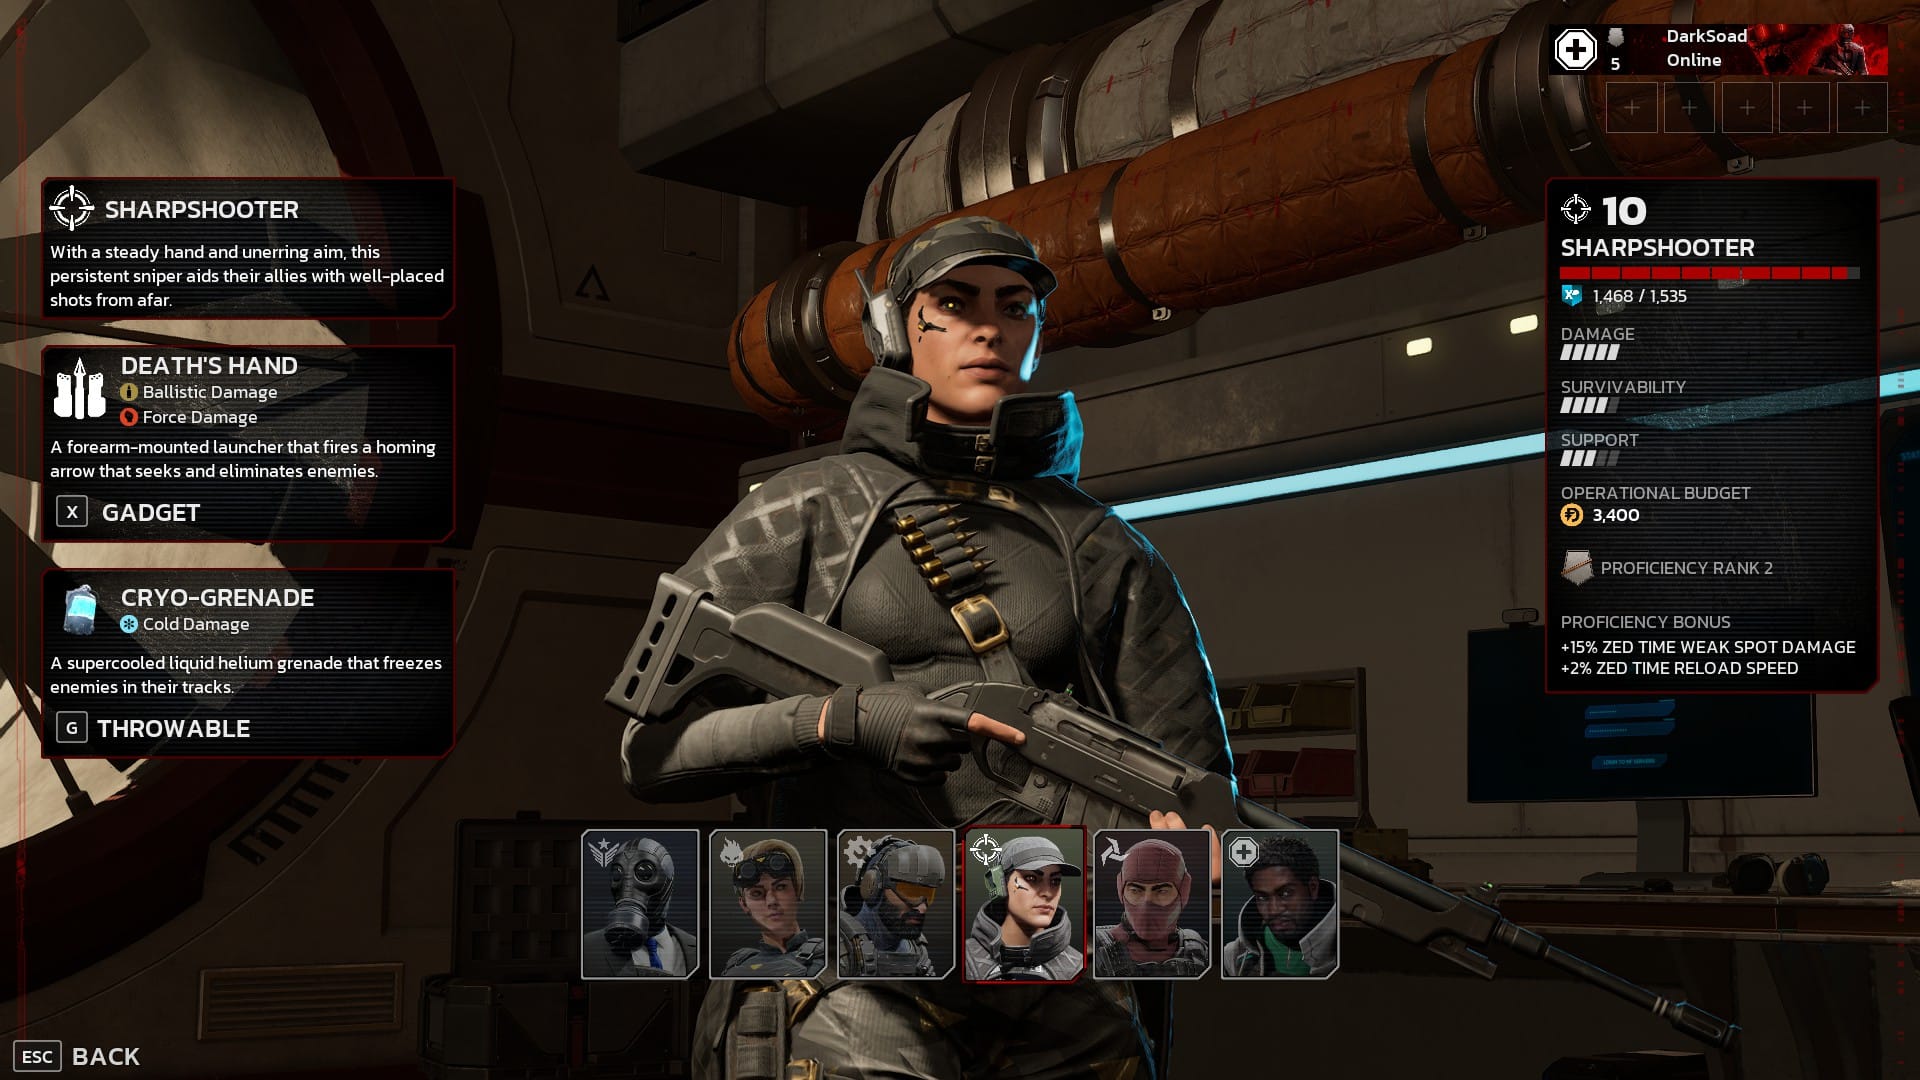
Your first question is likely the most basic one. Of the six Perks—Killing Floor 3's term for character classes—choosing where to begin can be intimidating. With perks now leveling up to 30 and skill trees offering various abilities along the way, knowing where to invest your early effort can feel overwhelming.
Fortunately, the Sharpshooter simplifies this choice. Specializing in assault and sniper rifles, the Sharpshooter excels at helping beginners adapt quickly. Her weapons are easily customizable, and even selecting the most basic gun as your initial Frankenstein's monster of a loadout gives you a reliable weapon early on, sufficient to survive later waves until you can purchase higher-tier gear.
Equally notable is the Sharpshooter's gadget, which functions similarly to an ultimate ability. Death's Hand summons a homing arrow that seeks and destroys enemies independently. Numerous upgrades exist, but even its default form is highly effective, especially useful when reviving teammates. Activate it to keep foes at bay, ensuring your allies are revived safely—an ability as stylish as it is practical.
9. Team Up—Safety in Numbers is Vital
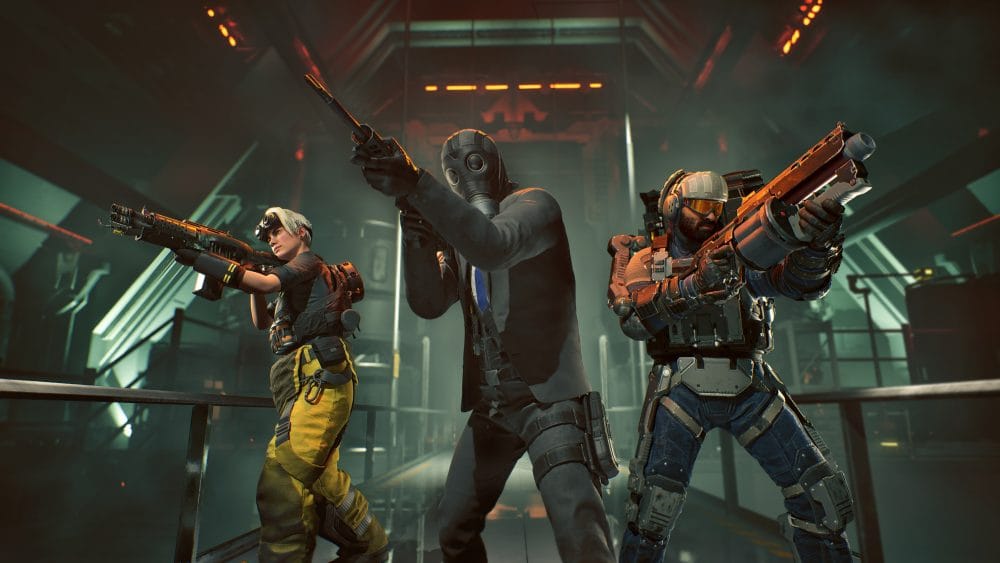
Fundamentally, KF3 emphasizes teamwork, balancing gameplay around players sticking together and combining their skills to eliminate enemies effectively. Beginners may feel tempted to wander alone, but they'll soon find themselves overwhelmed, and without allies nearby to revive them, death becomes almost certain.
Splitting up during initial waves isn’t disastrous, but higher difficulty levels and later rounds demand proximity to teammates. Staying close allows the team to chip away at stronger enemies and ensures access to essential ammo and health when situations deteriorate.
8. Begin on Normal—Harder Than You Expect
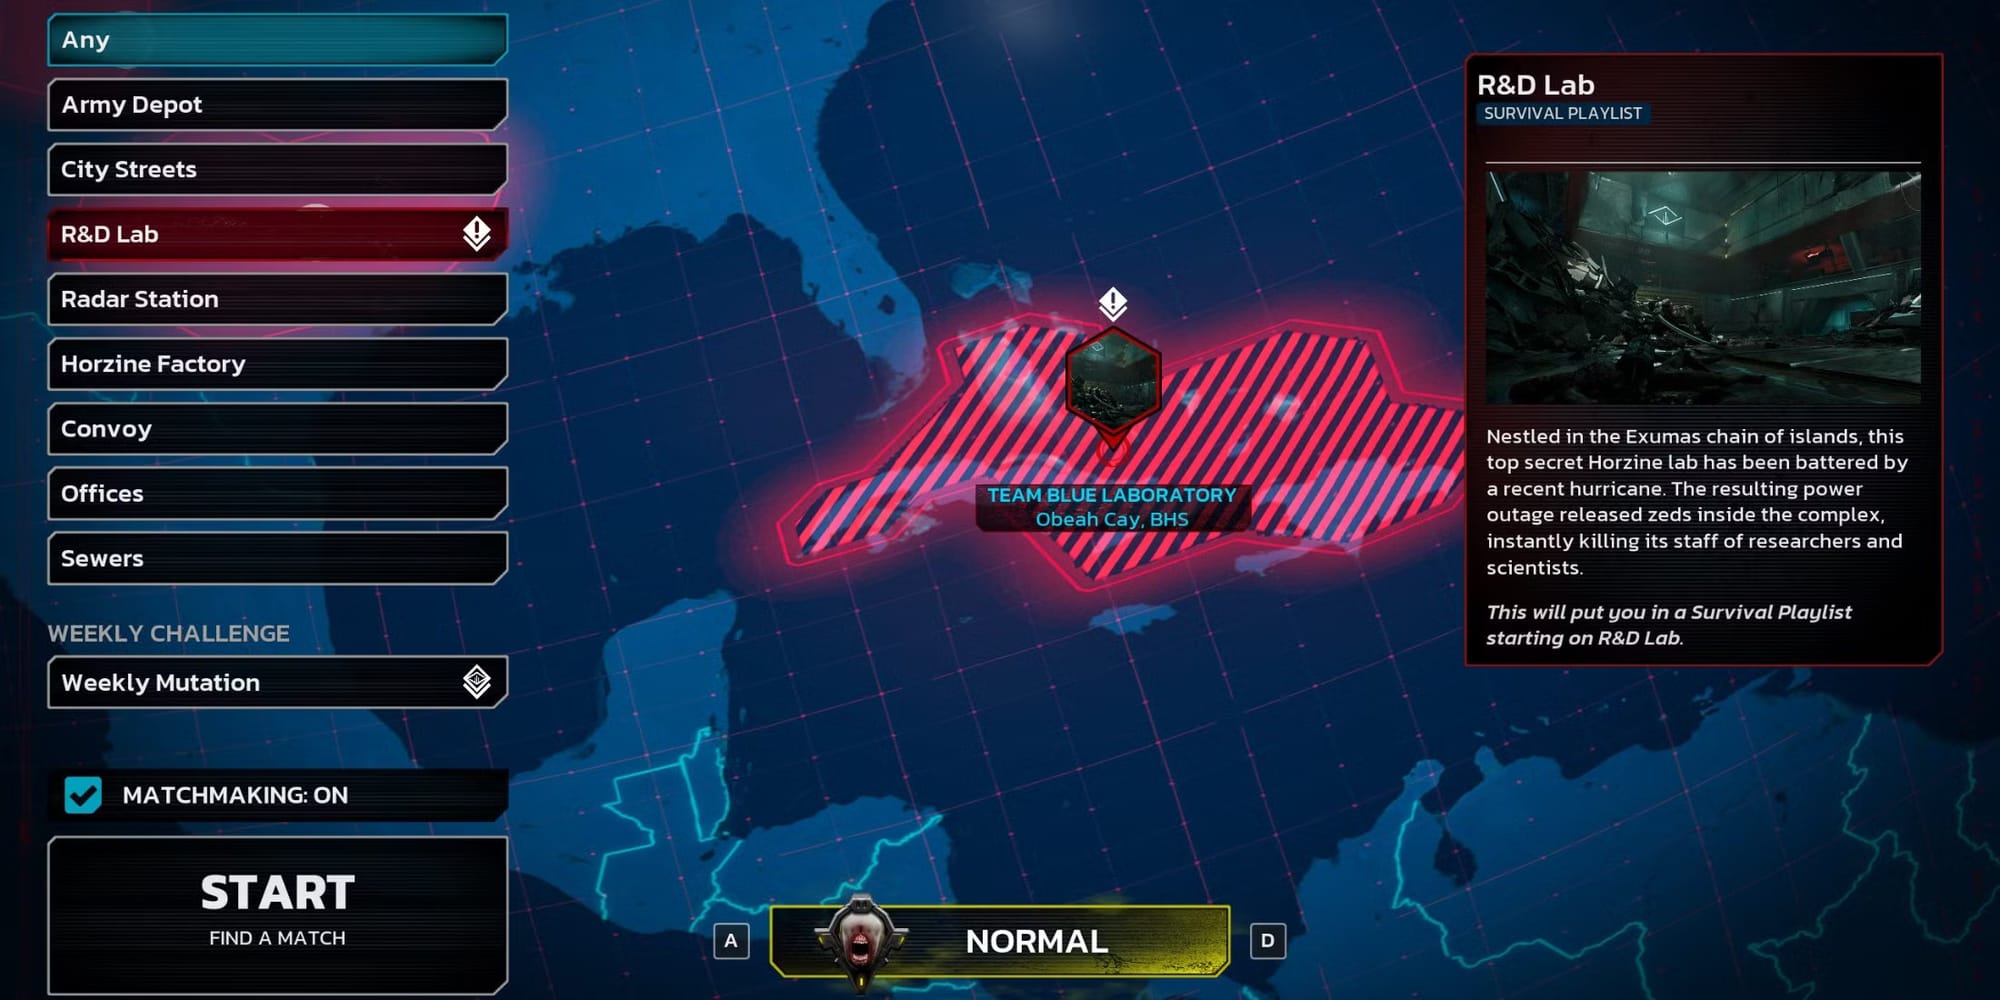
Experienced shooter fans might assume that their skills from other games, including earlier Killing Floor entries, will let them breeze through Killing Floor 3's hardest difficulties right away. Yet, the game quickly humbles players with aggressive enemies and massive health pools that send the ill-prepared back to the loading screen.
Another key factor in difficulty involves the skills and mods players can equip to boost their power during matches. At the game's outset, all these options remain locked, meaning that tackling hard mode with basic abilities and mediocre weapons guarantees failure. Thus, starting on normal difficulty is the best strategy to level up and master fundamentals before taking on tougher challenges.
7. Spend Your Dosh Carefully to Maximize Your Resources
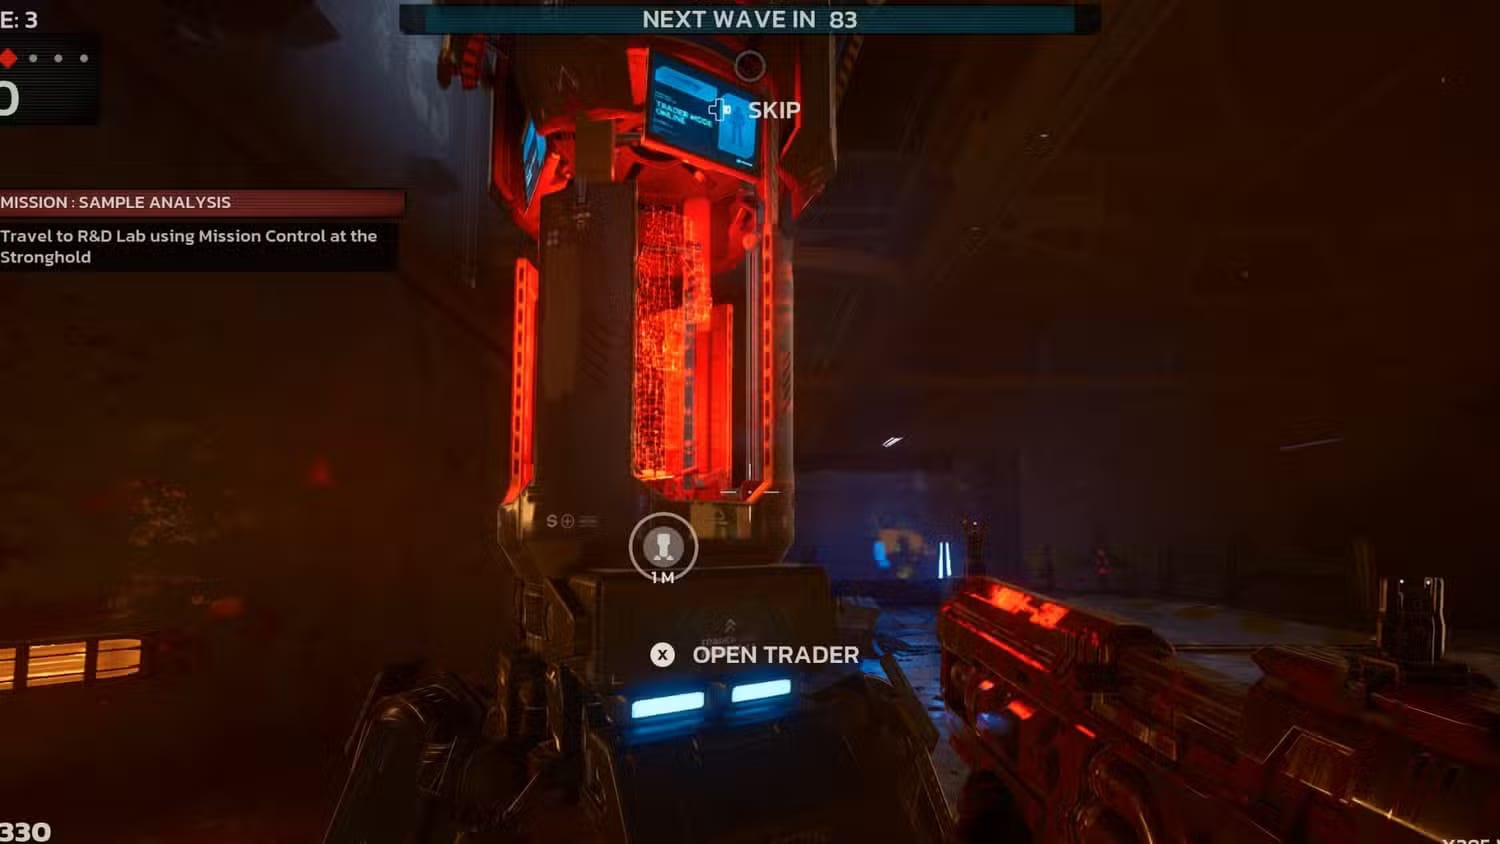
Money (or "dosh") plays a critical role in Killing Floor 3, determining which weapons players can acquire and whether they enter the next round fully armored and healed.
Within the trade window, multiple enticing choices appear, but wise players manage their money carefully. Prioritizing armor upgrades rather than simply refilling it, or buying ammo refills that benefit the entire team, are efficient strategies. With a bit of practice, recognizing when and what weapons to buy, as well as useful utility items, becomes second nature.
6. Master the Multi-Tool for Armor, Ziplines, and Turrets
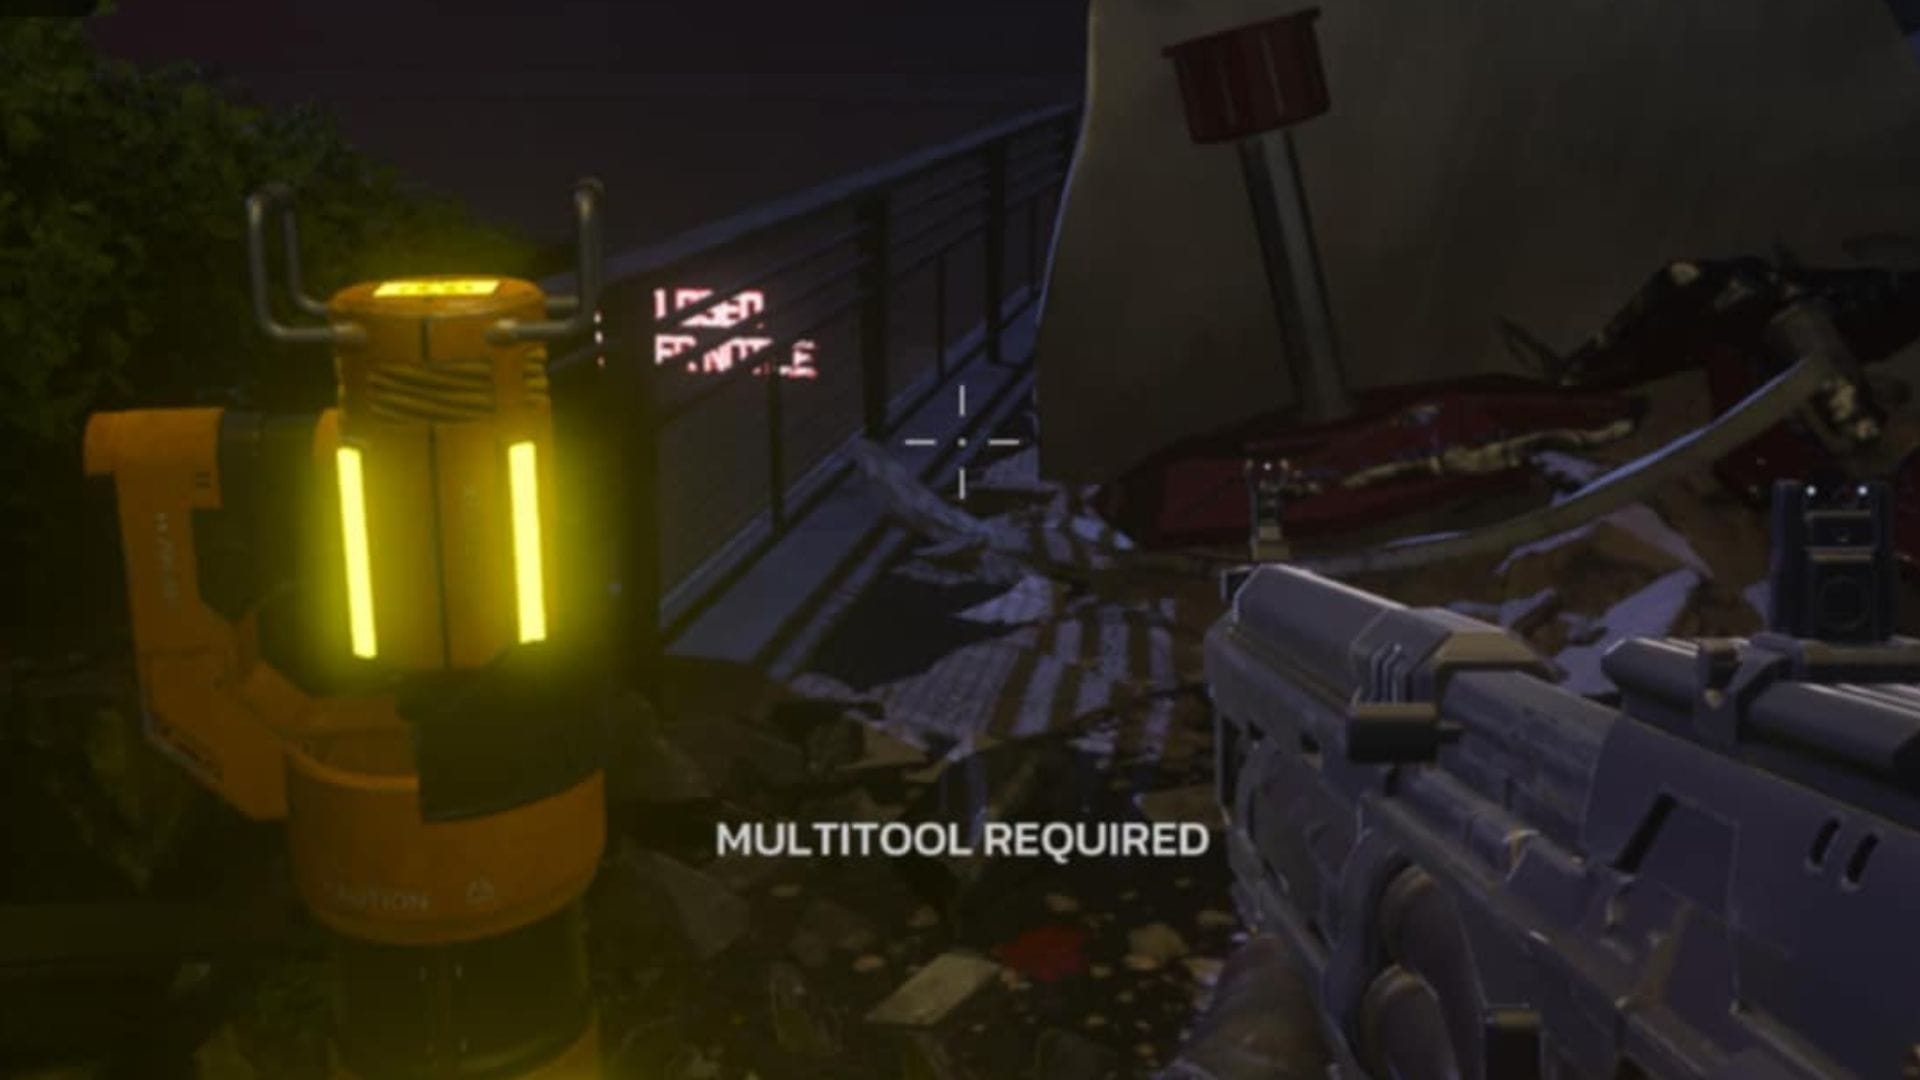
Among the most powerful tools in Killing Floor 3 is the multi-tool, an extremely versatile item enhancing both support and offensive capabilities. Multi-tools unlock crates containing armor for mid-wave pickups or even crucial ziplines that offer quick escapes, greatly aiding team survival.
However, the multi-tool's standout feature is activating turrets, shredding Zeds effortlessly. Many maps have multiple turret placements in a single area, allowing players to spend just a few hundred dosh to activate several devastating gatling guns, dramatically aiding in defending against swarms.
5. Commit to One Class—Leveling Takes Time

Leveling in KF3 is extremely important, as the most powerful skills are situated at the bottom of each class's skill tree. Consequently, players must grind numerous matches to fully unlock a class’s potential. Switching between classes complicates progression, as each perk levels separately, slowing overall advancement.
A smart approach involves selecting a class you enjoy and committing to grinding multiple matches to rapidly level it up. When desiring variety later, players can explore other classes without affecting their primary class’s progression. The same logic applies to weapons; decide on a loadout and upgrade it fully, avoiding spreading resources too thin across various items.
4. Target Red Areas for Weakspots and Extra Loot
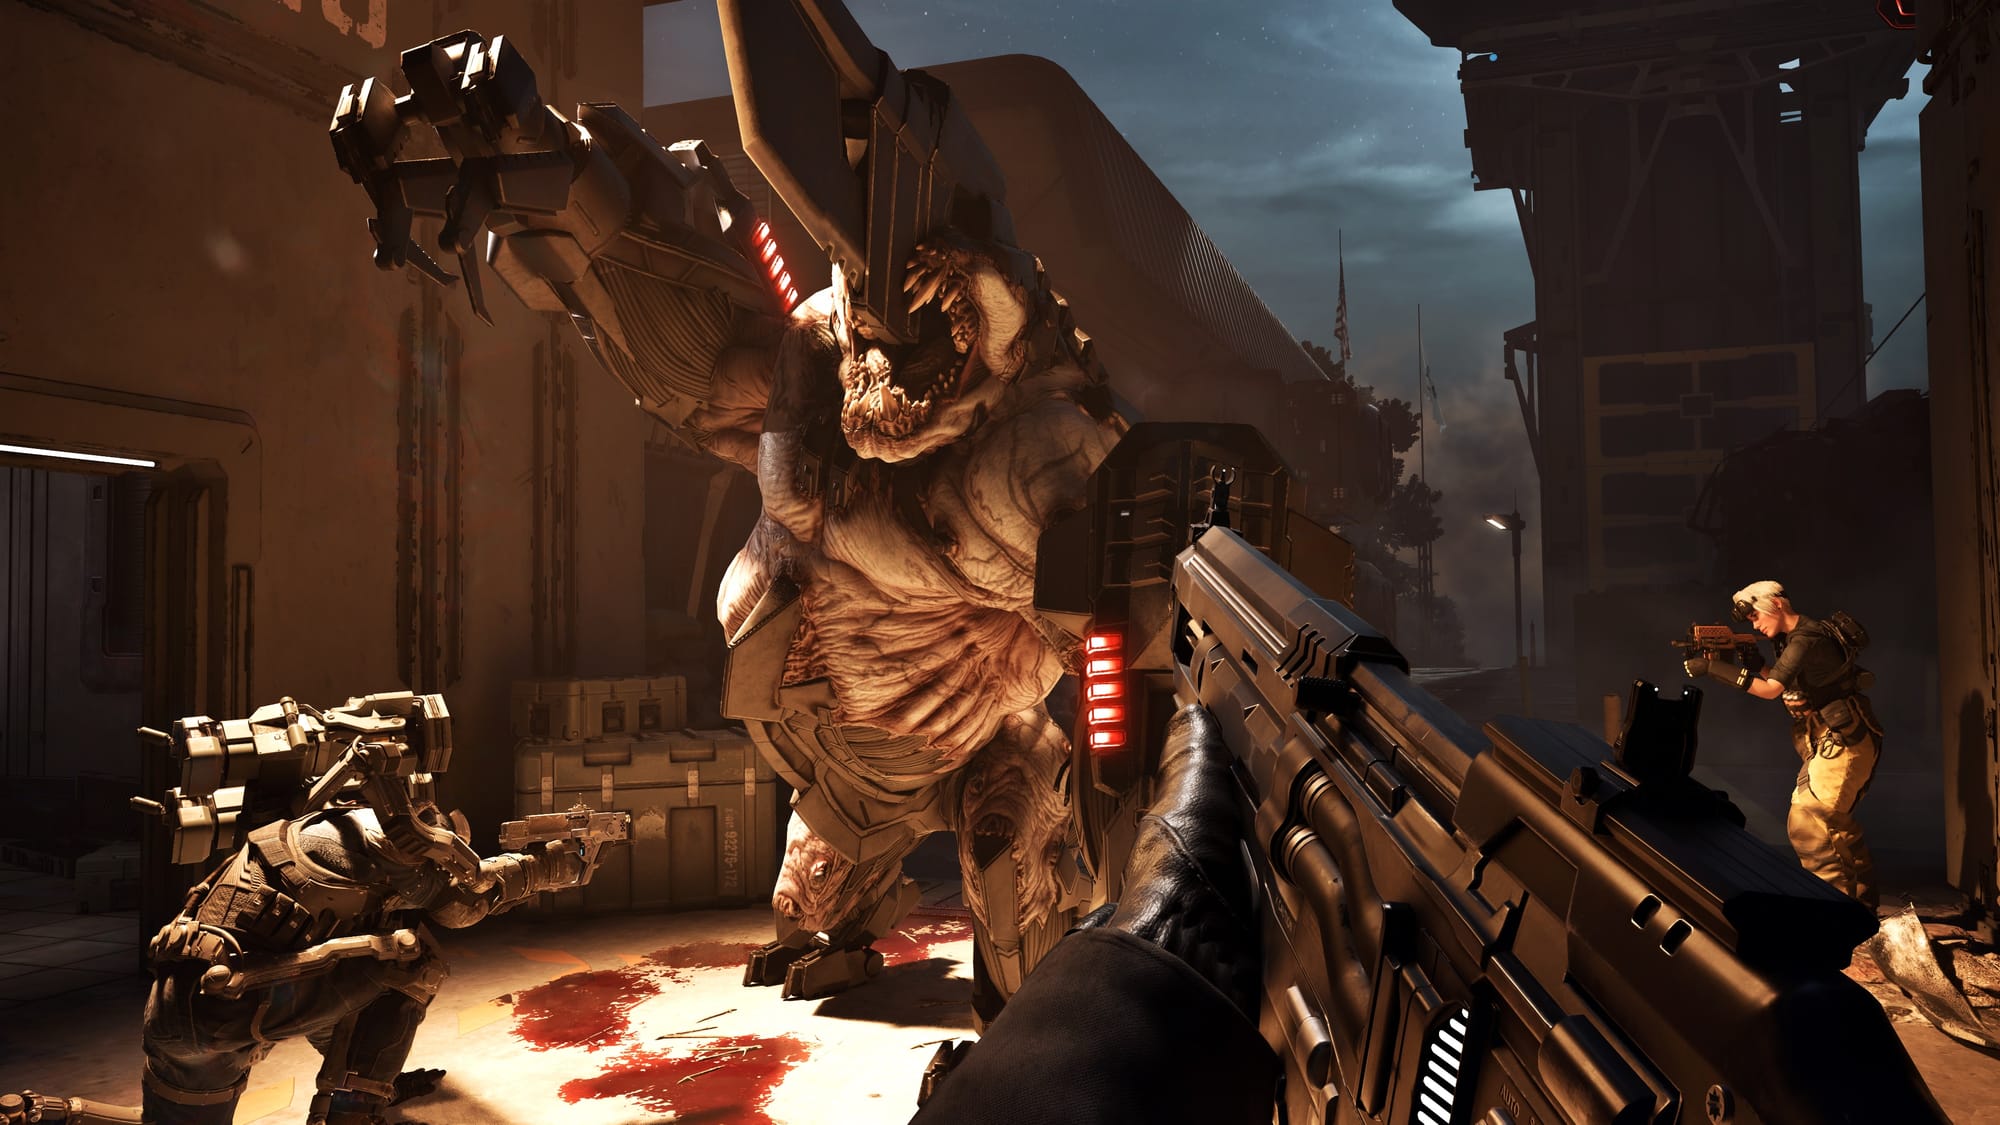
In shooters generally, weak points significantly matter, often simply meaning "shoot the head." In Killing Floor 3, this advice remains valid but includes a twist: elite Zeds and bosses have additional weak spots amplifying damage even further.
Whenever enemies sport shiny red spots on their limbs or bodies, targeting these areas is always worthwhile, rewarding precise aim with notable damage bonuses. Additionally, scattered across maps are red-highlighted objects such as cameras and dishes, which, when shot, yield valuable materials. Therefore, whether enemy or object, red should always be your primary target.
3. Upgrade Your Weapons With Mods to Boost Power
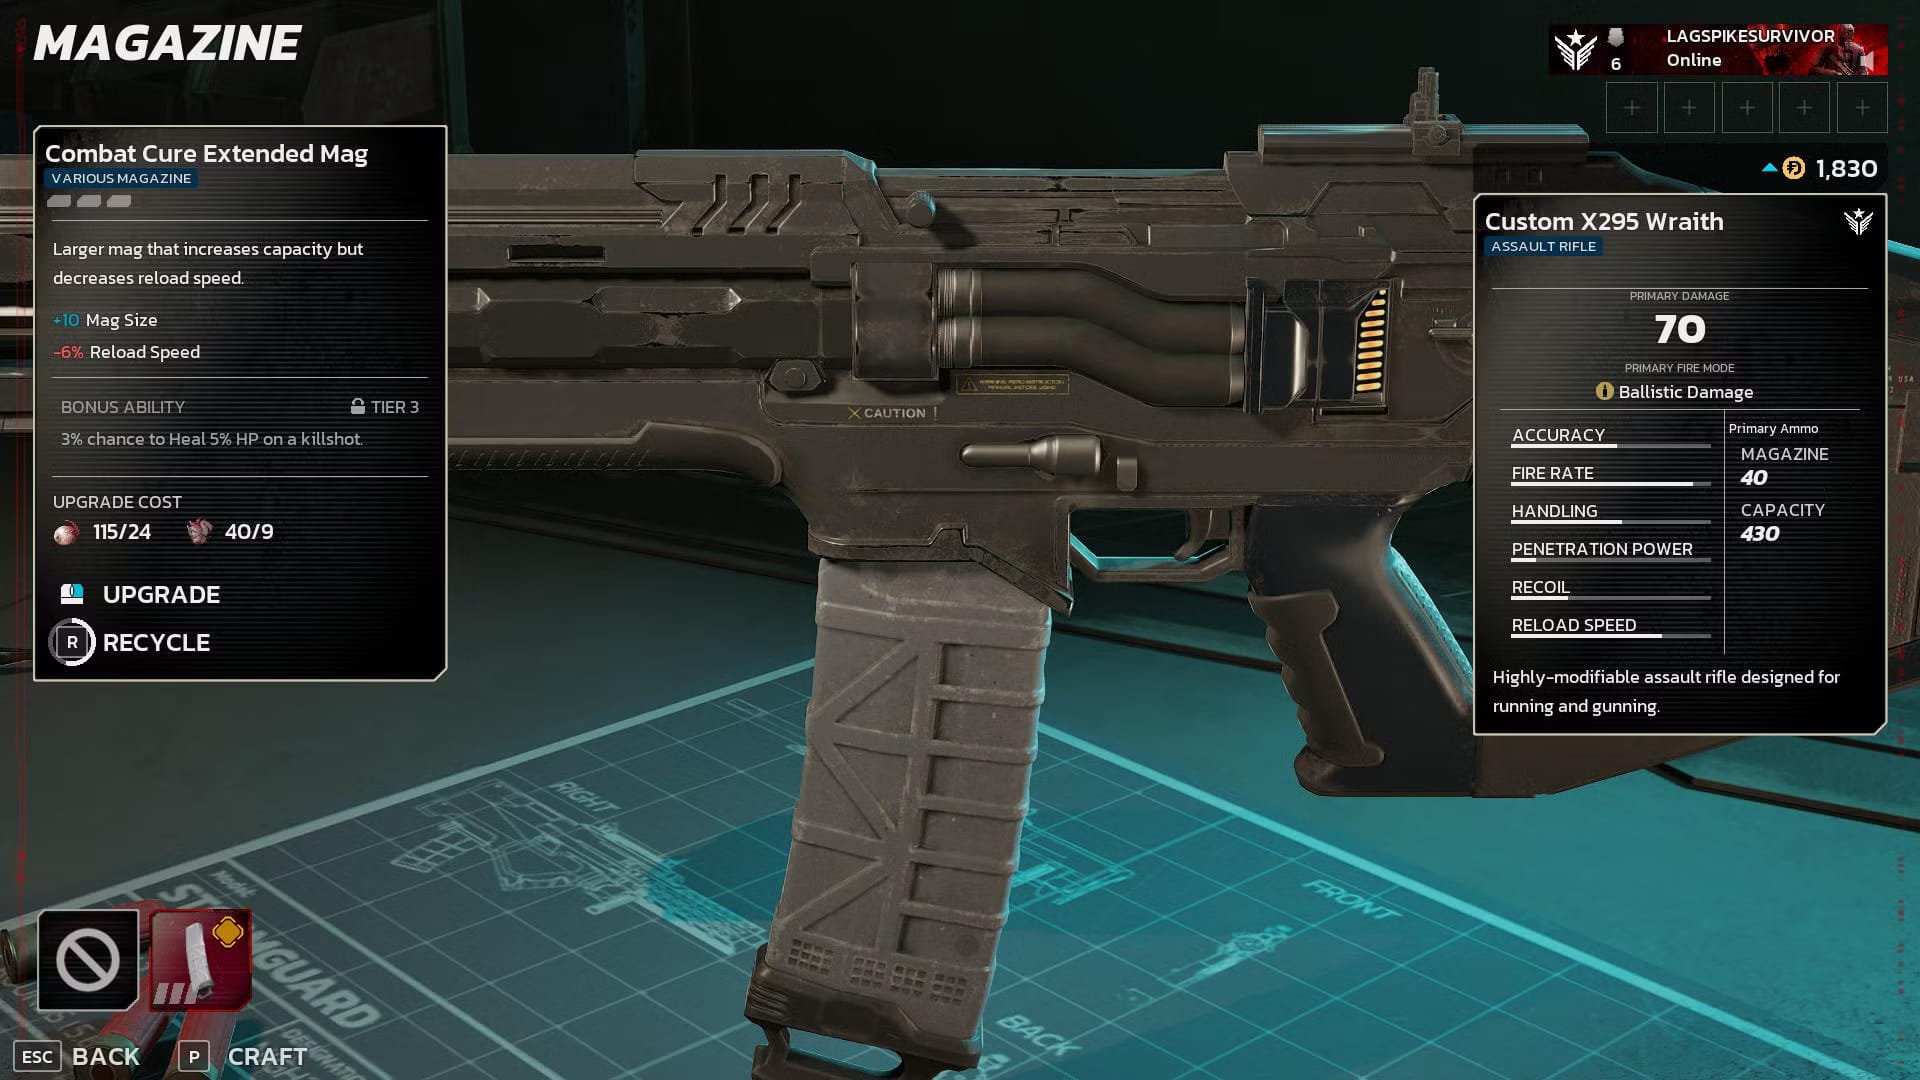
Investing in weapon mods is essential. Each Killing Floor 3 weapon feels distinct, and discovering your preferred weapon for each perk might take time. However, completing matches accumulates resources. Instead of hoarding them, choose one or two favorite perk-specific weapons and customize them in the armory.
Customized weapons can be accessed in two ways during matches. First, players with enough operational budget can begin a match equipped with their customized weapon. As weapon upgrades increase costs, this might not be immediately feasible. Your operational budget expands as your perk level rises. The more approachable alternative involves earning sufficient money during matches, allowing direct purchase from the trader between waves. Though traders offer pre-modded weapons, familiarity with mods and attachments allows better customization and gameplay control.
2. Stay Mobile—Camping Will Get You Killed
One effective method for handling bosses and larger Zeds in Killing Floor 3 involves kiting them around the map, using mantles and ziplines to confuse AI pathfinding. Executed correctly, enemies struggle to land hits, transforming players into nearly unstoppable, mobile combatants.
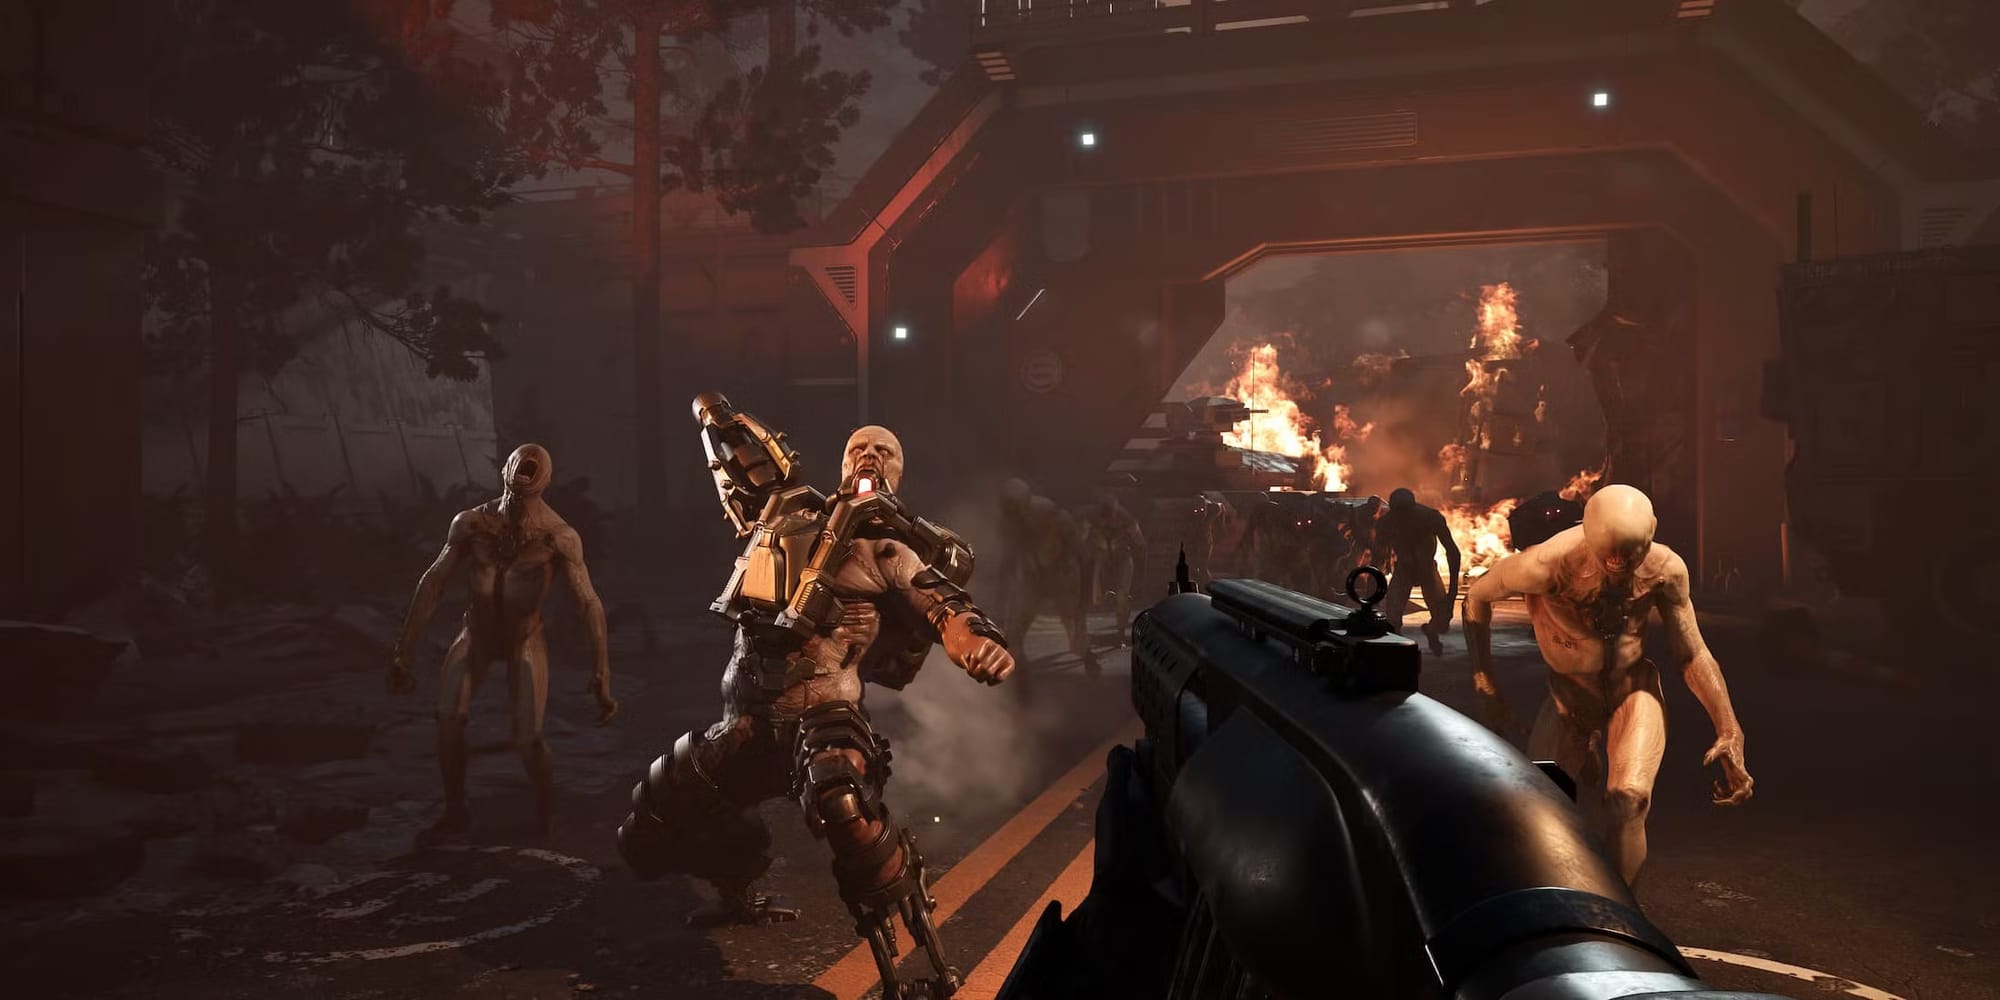
1. Leverage the Environment to Survive and Thrive
Killing Floor 3 maps offer abundant environmental tools, from explosive barrels to breakable pipes that unleash fire onto nearby Zeds. Memorizing object locations within arenas is advantageous, providing opportunities to thin enemy ranks and weaken larger opponents on the move.
Additionally, each map contains tactical routes for kiting bosses—such as escaping through windows or mantling onto higher terrain to create distance. Mastering map knowledge significantly boosts survivability, with each map's unique features and tactics greatly enriching overall gameplay.


